16. Flask
Flask is a micro web framework written in Python. It is easy and fast to implement with the knowledge of basic web development and REST APIs. How is it relevant to model building? Sometimes, it might be necessary to run models in the a server or cloud, and the only way is to wrap the model in a web application. Flask is the most popular library for such a task.
16.1. Basics
This gives a basic overall of how to run flask, with the debugger on,
and displaying a static index.html file.
A browser can then be nagivated to http://127.0.0.1:5000/ to view the index page.
from flask import Flask, render_template

app = Flask(__name__)


@app.route('/')
def index():
    return render_template('index.html')

if __name__ == '__main__':
    app.run(debug = True)
16.2. Folder Structure
There are some default directory structure to adhere to. The first is that HTML files are placed under /templates, second is for Javascript, CSS or other static files like images, models or logs will be placed under /static
├── app.py
├── config.py
├── utils.py
├── static
│   ├── css
│   │   ├── bootstrap.css
│   │   ├── ....
│   ├── img
│   │   └── img_1589185531.png
│   ├── js
│   │   ├── bootstrap.bundle.js
│   │   ├── ....
│   └── logs
│       └── logfiles.log
└── templates
    └── index.html
16.3. App Configs
Flask by default comes with a configuration dictionary which can be called as below.
print(app.config)

{'APPLICATION_ROOT': '/',
'DEBUG': True,
'ENV': 'development',
'EXPLAIN_TEMPLATE_LOADING': False,
'JSONIFY_MIMETYPE': 'application/json',
'JSONIFY_PRETTYPRINT_REGULAR': False,
'JSON_AS_ASCII': True,
'JSON_SORT_KEYS': True,
'MAX_CONTENT_LENGTH': None,
'MAX_COOKIE_SIZE': 4093,
'PERMANENT_SESSION_LIFETIME': datetime.timedelta(days=31),
'PREFERRED_URL_SCHEME': 'http',
'PRESERVE_CONTEXT_ON_EXCEPTION': None,
'PROPAGATE_EXCEPTIONS': None,
'SECRET_KEY': None,
'SEND_FILE_MAX_AGE_DEFAULT': datetime.timedelta(seconds=43200),
'SERVER_NAME': None,
'SESSION_COOKIE_DOMAIN': None,
'SESSION_COOKIE_HTTPONLY': True,
'SESSION_COOKIE_NAME': 'session',
'SESSION_COOKIE_PATH': None,
'SESSION_COOKIE_SAMESITE': None,
'SESSION_COOKIE_SECURE': False,
'SESSION_REFRESH_EACH_REQUEST': True,
'TEMPLATES_AUTO_RELOAD': None,
'TESTING': False,
'TRAP_BAD_REQUEST_ERRORS': None,
'TRAP_HTTP_EXCEPTIONS': False,
'USE_X_SENDFILE': False}
We can add new key-values or change values as any dictionary in python.
# add a directory for image upload
app.config['UPLOAD_IMG_FOLDER'] = 'static/img'
However, for a large project, if there are multiple environments, each with different set of config values, we can create a configuration file. Refer to the links below for more.
16.4. Manipulating HTML
There are various ways to pass variables into or manipulate html using flask.
16.4.1. Passing Variables
We can use the double curly brackets {{ variable_name }} in html, and within flask
define a route. Within the render_template, we pass in the variable.
In Python
@app.route('/upload', methods=["POST"])
def upload_file():
    img_path = 'static/img'
    img_name = 'img_{}.png'
    img = os.path.join(img_path, img_name)
    file = request.files['image_upload']
    file.save(img)

    return render_template('index.html', img_show=img)
In HTML
<div class="row">
    <img class="img-thumbnail" src={{img_show}} alt="">
</div>
In JavaScript
<script>
    image_path = "{{ img_show }}";
</script>
16.4.2. If Conditions, Loops, etc.
We can implement python code in the html using the syntax, i.e., {% if something %}.
However, note that we need to close it with the same synatx also, i.e. {% endif %}.
In Python
@app.route('/upload', methods=["POST"])
def upload_file():
    img_path = 'static/img'
    img_name = 'img_{}.png'
    img = os.path.join(img_path, img_name)
    file = request.files['image_upload']
    file.save(img)

    return render_template('index.html', img_show=img)
In HTML
{% if img_show %}
<div class="row">
    <img class="img-thumbnail" src={{img_show}} alt="">
</div>
{% endif %}
16.5. Testing
There are a number of HTTP request methods. Below are the two commonly used ones.
GET | Sends data in unencrypted form to the server. E.g. the ? values in URL |
||
POST | Used to send HTML form data to server. Data received not cached by server. |
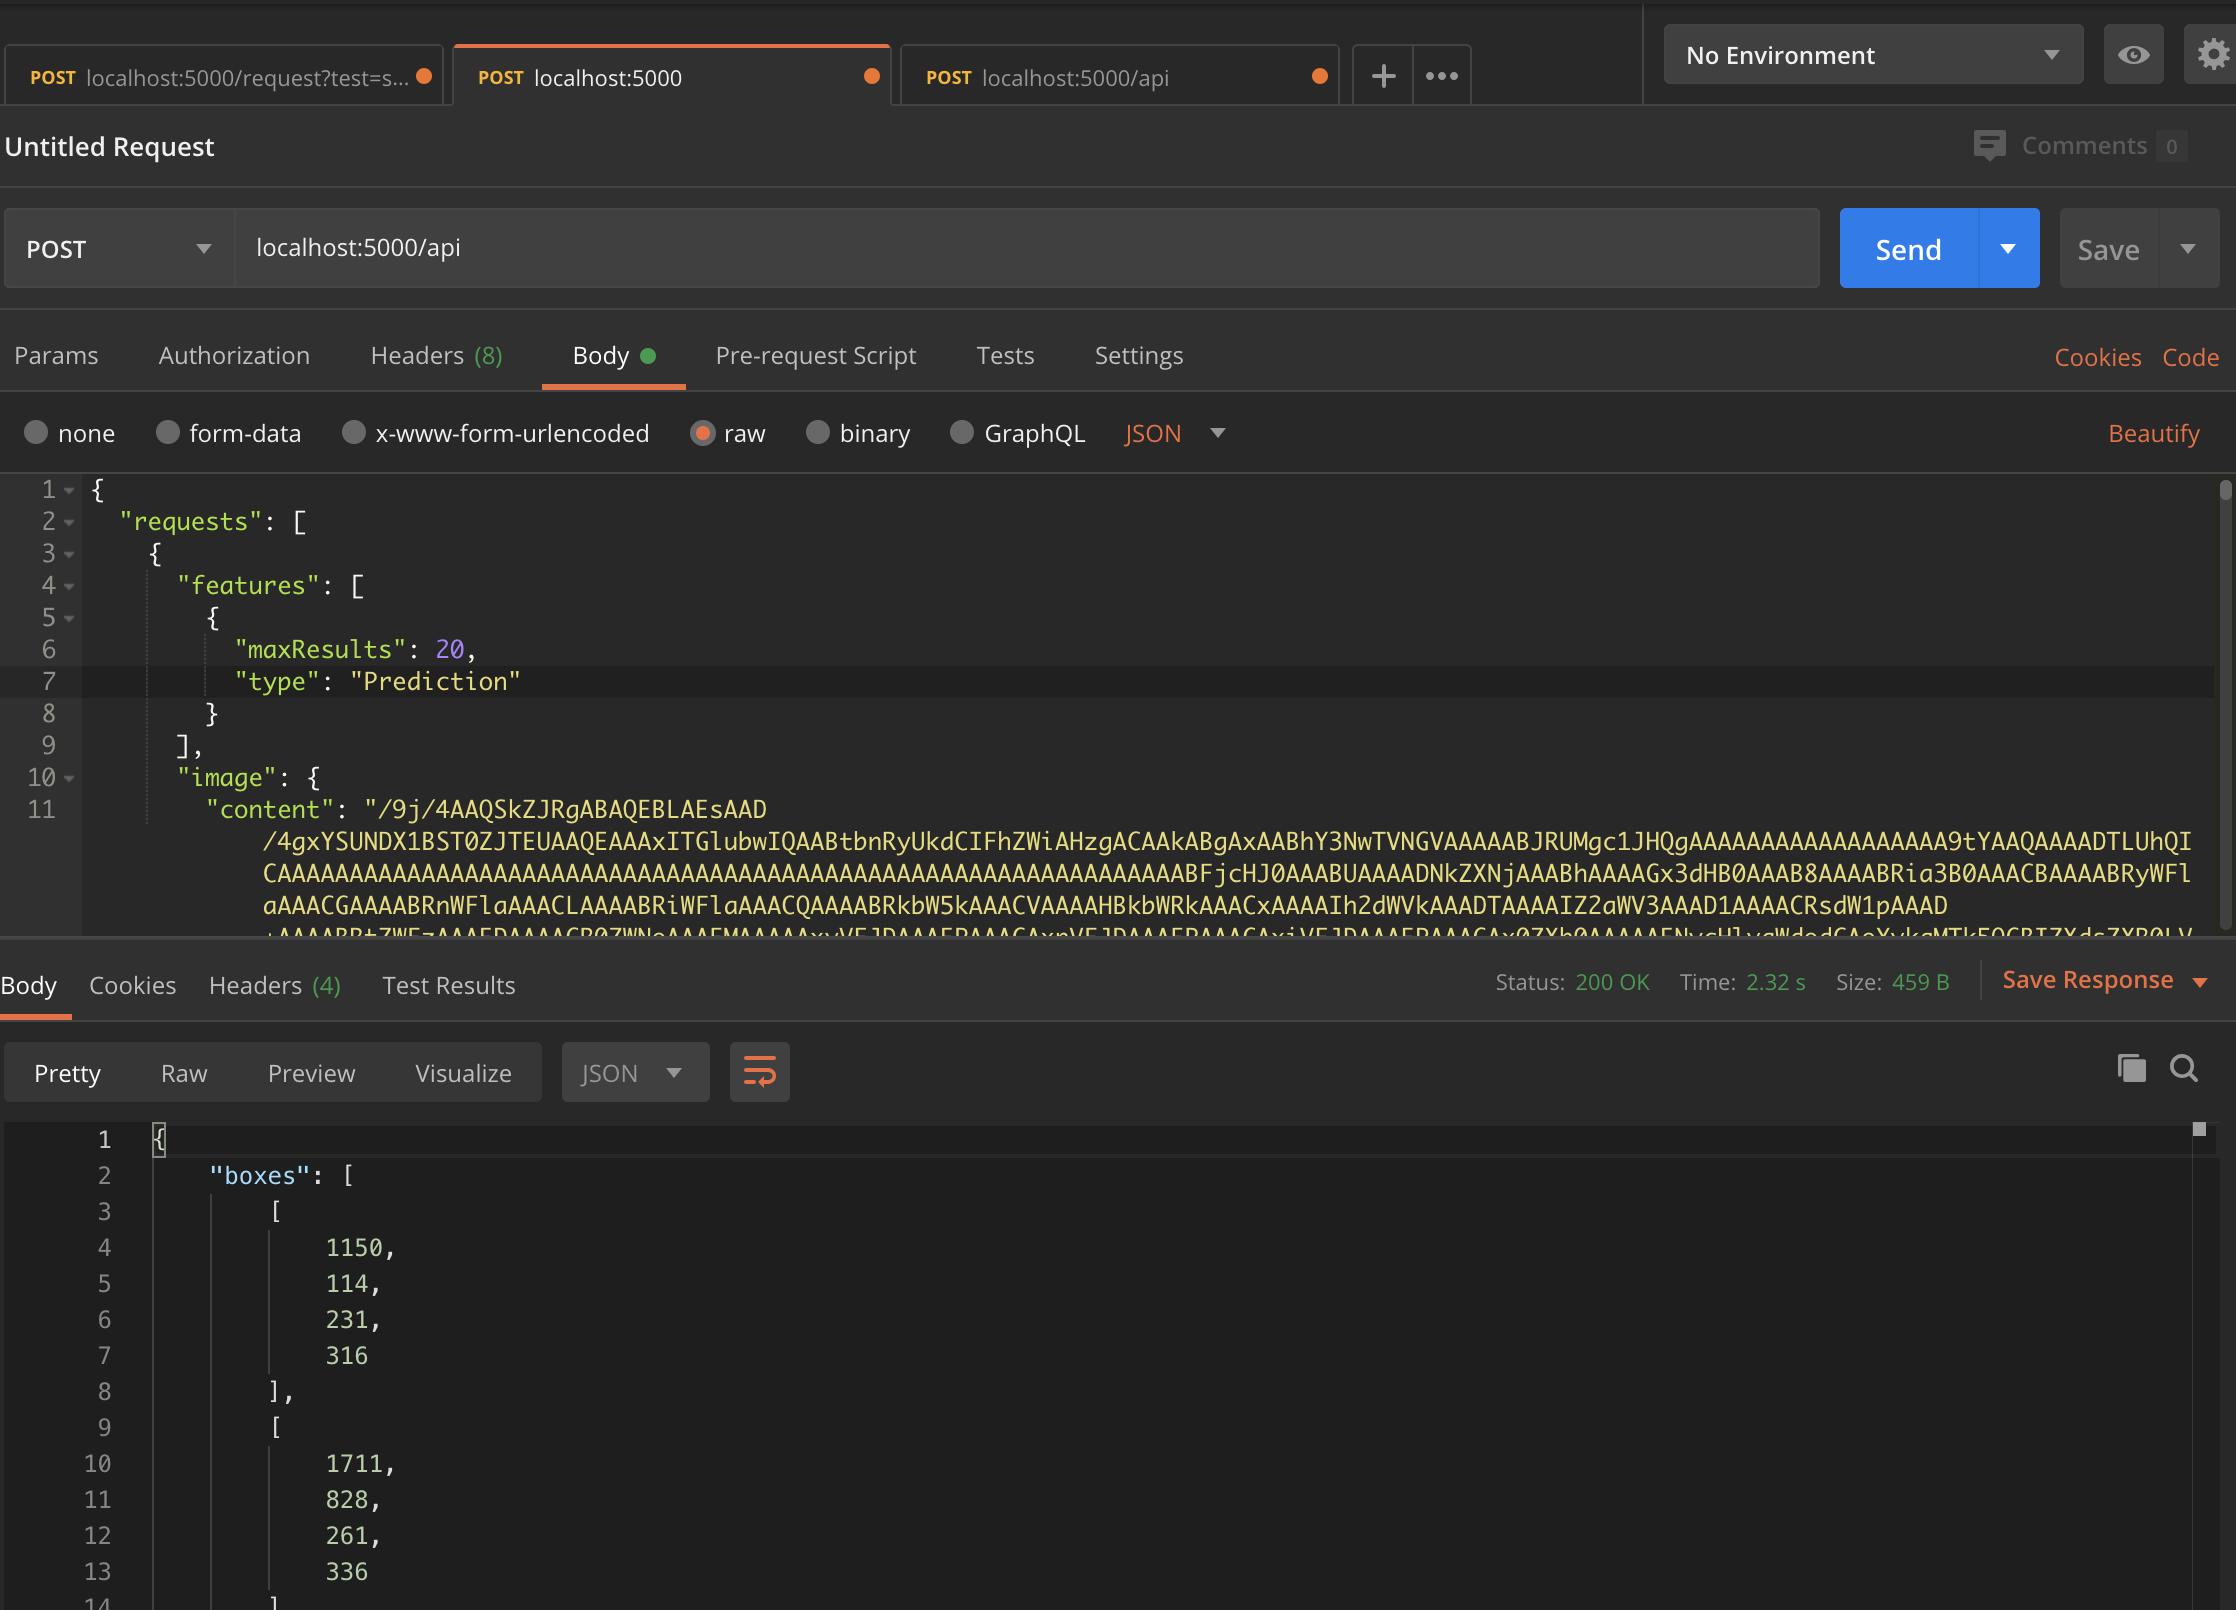
16.5.1. Postman
Postman is a free software that makes it easy to test your APIs. After launching the flask application, we can send a JSON request by specifying the method (POST), and see the JSON response at the bottom panel.
16.5.2. Python
Similarly, we can also send a request using the Python “requests” package.
import requests

# send request
res = requests.post('http://localhost:5000/api', json={'key':'value'})
# receieve response
print(res.content)
16.5.3. CURL
We can use curl (Client URL) through the terminal as an easy access to test our API too. Here’s a simple test to see the API works, without sending the data.
curl --request POST localhost:5000/api
Here’s one complete request with data
curl --header "Content-Type: application/json" \
    --request POST \
    --data '{"username":"xyz","password":"xyz"}' \
    http://localhost:5000/api
To run multiple requests in parallel for stress testing
curl --header "Content-Type: application/json" \
    --request POST \
    --data '{"username":"xyz","password":"xyz"}' \
    http://localhost:5000/api &
curl --header "Content-Type: application/json" \
    --request POST \
    --data '{"username":"xyz","password":"xyz"}' \
    http://localhost:5000/api &
curl --header "Content-Type: application/json" \
    --request POST \
    --data '{"username":"xyz","password":"xyz"}' \
    http://localhost:5000/api &
wait
16.6. File Upload
Below shows up to upload a file, e.g., an image to a directory in the server.
In HTML
<div class="row">
    <form action="/upload" method="post" enctype="multipart/form-data">
        <input type="file" name="image_upload" accept=".jpg,.jpeg,.gif,.png" />
        <button type="submit" class="btn btn-primary">Submit</button>
    </form>
</div>
In Python
import os
from time import time

@app.route('/upload', methods=["POST"])
def upload_file():
    img_path = 'static/img'

    # delete original image
    if len(os.listdir(path)) != 0:
        img = os.listdir(path)[0]
        os.remove(os.path.join(path,img))

    # retrieve and save image with unique name
    img_name = 'img_{}.png'.format(int(time()))
    img = os.path.join(path, img_name)
    file = request.files['image_upload']
    file.save(img)

    return render_template('index.html')
To upload multiple files, end the html form tag with “multiple”.
<form action="/upload" method="post" enctype="multipart/form-data" multiple>
16.7. Logging
We can use the in-built Python logging package for storing logs. Note that there are 5 levels of logging, DEBUG, INFO, WARNING, ERROR and CRITICAL. If initial configuration is set at a high level, e.g., WARNING, lower levels of logs, i.e., DEBUG and INFO will not be logged.
Below is a basic logger.
import logging

logging.basicConfig(level=logging.INFO, \
                    filename='../logfile.log', \
                    format='%(asctime)s :: %(levelname)s :: %(message)s')


# some script
logger.warning('This took x sec for model to complete')
We can use the function RotatingFileHandler to limit
the file size maxBytes and number of log files backupCount to store.
Note that the latter argument must be at least 1.
import logging
from logging.handlers import RotatingFileHandler


log_formatter = logging.Formatter('%(asctime)s :: %(levelname)s :: %(message)s')
logFile = '../logfile.log'

handler = RotatingFileHandler(logFile, mode='a', maxBytes=10000, \
                                backupCount=1, encoding=None, delay=0)
handler.setFormatter(log_formatter)
# note that if no name is specific in argument, it will assume "root"
# and all logs from default flask output will be recorded
# if another name given, default output will not be recorded, no matter the level set
logger = logging.getLogger('new')
logger.setLevel(logging.INFO)
logger.addHandler(handler)
16.8. Docker
If the flask app is to be packaged in Docker, we need to set the IP to localhost, and expose the port during docker run.
if __name__ == "__main.py__":
    app.run(debug=True, host='0.0.0.0')
docker run -p 5000:5000 imageName
If we run docker ps, under PORTS, we should be able to see
that the Docker host IP 0.0.0.0 and port 5000, is accessible to the container at port 5000.
16.9. Storing Keys
We can and should set environment variables; i.e., variables stored in the OS, especially for passwords and keys, rather than in python scripts. This is because you don’t want to upload them to the github, or other version control platforms. Hence, it reduces the need to copy/paste the keys into the script everytime you launch the app.
To do this, in Mac/Linux, we can store the environment variable in a .bash_profile.
# open/create bash_profile
nano ~/.bash_profile

# add new environment variable
export SECRET_KEY="key"

# restart bash_profile
source ~/.bash_profile

# we can test by printing it in the console
echo $SECRET_KEY
We can also add this to the .bashrc file so that the variable will not be lost each time
you launch/restart the bash terminal.
if [ -f ~/.bash_profile ]; then
    . ~/.bash_profile
fi
In the flask script, we can then obtain the variable by using the os package.
import os
SECRET_KEY = os.environ.get("SECRET_KEY")
For flask apps in docker containers, we can add an -e to include the environment variable into the container.
sudo docker run -e SECRET_KEY=$SECRET_KEY -p 5000:5000 comply
16.10. Changing Environment
Sometimes certain configurations differ between the local development and server production environments. We can set a condition like the below.
We try not to interfer with the FLASK_ENV variable which by default uses production, but instead create a new one.
if os.environ['ENV'] == 'production':
    UPLOAD_URL = 'url/in/production/server'
elif os.environ['ENV'] == 'development'
    UPLOAD_URL = '/upload'
We can then set the flask environment in docker as the below.
Or if we are not using docker, we can export ENV=development; python app.py.
# when testing in production environment, comment out development
ENV ENV=development
# ENV ENV=production

ENTRYPOINT [ "python", "-u", "app.py" ]
A more proper way to handle environments is mentioned in flask’s documentation below.
16.11. Parallel Processing
We can use multi-processing or multi-threading to run parallel processing.
Note that we should not end with thread.join() or p.join() or the app will hang.
from threading import Thread

def prediction(json_input):
    # prediction
    pred_json = predict_single(save_img_path,
                                json_input,
                                display=False, ensemble=False,
                                save_dir=os.path.join(ABS_PATH, LOCAL_RESULT_FOLDER))

    # upload prediction to dynamo db
    table.update_item(
        Key={'id': unique_id},
        UpdateExpression='SET #attr = :val1',
        ExpressionAttributeNames={'#attr': 'violations'},
        ExpressionAttributeValues={':val1': json_output}
    )
    print('image processing done' + ' for ' + image_name)

# post request
@app.route('/api', methods=["POST"])
def process_img():
    json_input = request.json

    # run prediction as a separate thread
    thread = Thread(target=prediction, kwargs={'json_input': request.args.get('value', json_input)})
    thread.start()
    return "OK"
16.12. Scaling Flask
Flask as a server is meant for development, as it tries to remind you everytime you launch it. One reason is because it is not built to handle multiple requests, which almost always occur in real-life.
The way to patch this deficiency is to first, set up a WSGI (web server gateway interface), and then a web server. The former is a connector to interface the python flask app to an established web server, which is built to handle concurrency and queues.
For WSGI, there are a number of different ones, including gunicorn, mod_wsgi, uWSGI, CherryPy, Bjoern.
The example below shows how to configure for a WSGI file.
we give the example name of flask.wsgi. The flask app must also be renamed as application.
#! /usr/bin/python
import sys
import os

sys.path.insert(0, "/var/www/app")
sys.path.insert(0,'/usr/local/lib/python3.6/site-packages')
sys.path.insert(0, "/usr/local/bin/")

os.environ['PYTHONPATH'] = '/usr/local/bin/python3.6'

from app import app as application
For web servers, the two popular ones are Apache and Nginx. The example below shows how to set up for Apache, as well as configuring WSGI in the Dockerfile. Note that all configurations of WSGI is actually set in Apache’s httpd.conf file.
FROM python:3.6
EXPOSE 5000

# install apache & apache3-dev which contains mod_wsgi
# remove existing lists not required
RUN apt-get update && apt-get install -y apache2 \
        apache2-dev \
        nano \
    && apt-get clean \
    && apt-get autoremove \
    && rm -rf /var/lib/apt/lists/*

COPY requirements.txt .
RUN pip install -r requirements.txt

# need to reside in /var/www folder
COPY ./app /var/www/app
COPY ./flask.wsgi /var/www/app
WORKDIR /var/www/app

# enable full read/write/delete in static folder if files are to have full access
RUN chmod 777 -R /var/www/app/static

# from installed mod_wsgi package, also install mod_wsgi at apache end
RUN /usr/local/bin/mod_wsgi-express install-module

# setup wsgi server in the folder "/etc/mod_wsgi-express" to use wsgi file
# change user and group from root user to a specific user, and define other configs
# server-root, logs and other application level stuff will be stored in the directory,
# else will be stored in a temporary folder "/tmp/mod_wsgi-localhost:xxxx:x"
RUN mod_wsgi-express setup-server flask.wsgi \
    --port=5000 \
    --user www-data \
    --group www-data \
    --server-root=/etc/mod_wsgi-express
    --threads=1 \
    --processes=1

# start apache server
CMD /etc/mod_wsgi-express/apachectl start -D FOREGROUND
Gunicorn is another popular, and extremely easy to use WSGI.
We can just install as pip install gunicorn.
and start it with the simple command.
# gunicorn -w 2 pythonScriptName:flaskAppName
# it uses port 8000 by default, but we can change it
gunicorn --bind 0.0.0.0:5000 -w 2 app:app
`` sudo apt-get install nginx # ubuntu firewall sudo ufw status sudo ufw enable sudo ufw nginx http sudo ufw status sudo ufw allow ssh
systemctl status nginx systemctl start nginx systemctl stop nginx systemctl restart nginx ``
16.13. OpenAPI
OpenAPI specification is a description format for documenting Rest APIs. Swagger is an open-source set of tools to build this OpenAPI standard. There are a number of python packages that integrate both flask & swagger together.
16.14. Rate Limiting
Also known as throttling, it is necessary to control the number of requests each IP address
can access at a given time. This can be set using a library called Flask-Limiter
pip install Flask-Limiter.
More settings from this article https://medium.com/analytics-vidhya/how-to-rate-limit-routes-in-flask-61c6c791961b
16.15. Successors to Flask
Flask is an old but well supported framework. However, asynchronous frameworks and the successor to WSGI, ASGI (A=asynchronous) resulted in numerous alternatives, like FastAPI, Quart and Vibora.